Remember the last time you watched a cooking show and the chef/host said ‘Here’s one I prepared earlier’? How annoying! Why? Because when you’re a novice cook, that final dish seems impossible, and you feel incompetent – how could all those ingredients make that! Well, the same thing can happen in your classroom. When we show novice students a prepared modelled example, sometimes it is likely to be too large a step from where their understanding currently lies, and perceived as some sort of magic trick that allowed you to arrive at such a finished stage. This is why the I, We, You approach to modelling success is so useful.
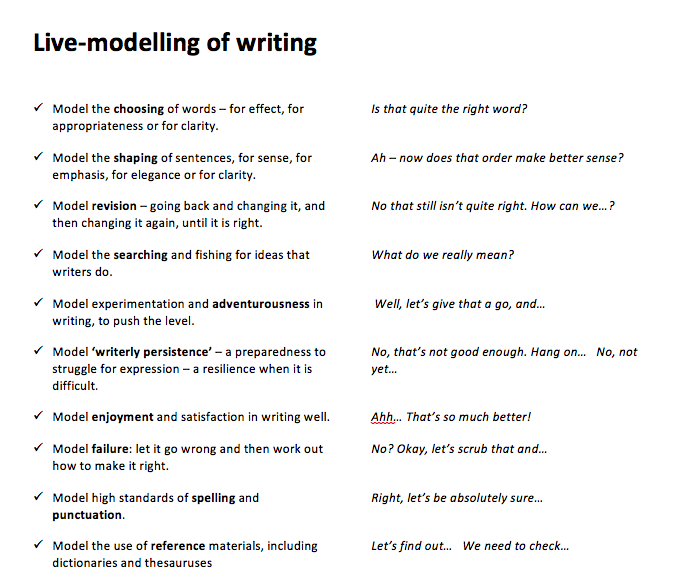
The I, We You, strategy is wonderfully explained by Andy Tharby and his advice on how to implement the method is important reading; it consequently prescribes my current practice. The ‘I’ element is a live modelling strategy that takes students through the process of arriving at a desired product step by step. Sarah Barker is absolutely inspirational in her process of achieving this mastery here, as is Tom Needham, whose blogs on modelling are fabulous and essential reading for all educators. Both are vocal in getting this stage correct before students are asked to help produce a shared response along with the teacher (We). James Durran has excellent advice on what this could look like below (full doc here).
Finally, the reins are handed over to the student (You) to then develop the knowledge in deliberate practice. It becomes an effective method in empowering students to independently transfer procedures to new context, and is aptly characterised by Collins et al (1991) and astutely chronicled by Ben Crocket as “cognitive apprenticeships” in which explicit teacher modelling aims to make visible the covert processes of experts.
But I think there’s a 4th dimension or stage that could be added to enhance the practice: the students’ model.
What is the students’ model?
Once students begin to practice the writing in the You stage, I wander the room checking for learning and challenging further thinking, (my main form of differentiation). When I come across a student’s work that is on the right track, I think it’s a very effective strategy to show other students the work. The reason is that it presents another ‘more expert like’ model, but a model closer to the novice than I could likely produce. David Didau’s discussion of the ‘curse of knowledge’ encourages this theory, suggesting that even with the best of intentions, presenting novice-like models is difficult for the expert teacher. Ben Crocket again judiciously cites research that serves to corroborate the relevancy of presenting student work for other students to view and learn from: ‘Weak students may benefit more from observing weak models because seeing a weaker/coping model will normalise the struggle students need to engage with them, and demonstrate the ability to progress beyond initial difficulty to successful task completion’ Braamska et al (2002).
Even when students move closer to the mastery level, the students’ model is also extremely effective. Creating opportunities for students to read other students’ responses that are exemplary serves multiple purposes including opening up more ideas and developing extended thinking about a topic, and strengthening the memories of the content. This is particularly effective when students are revising. On the revision website I’ve made for my GCSE students they can access other students’ essays that facilitate the benefits of the student’s model.
HOW CAN YOU SET IT UP?
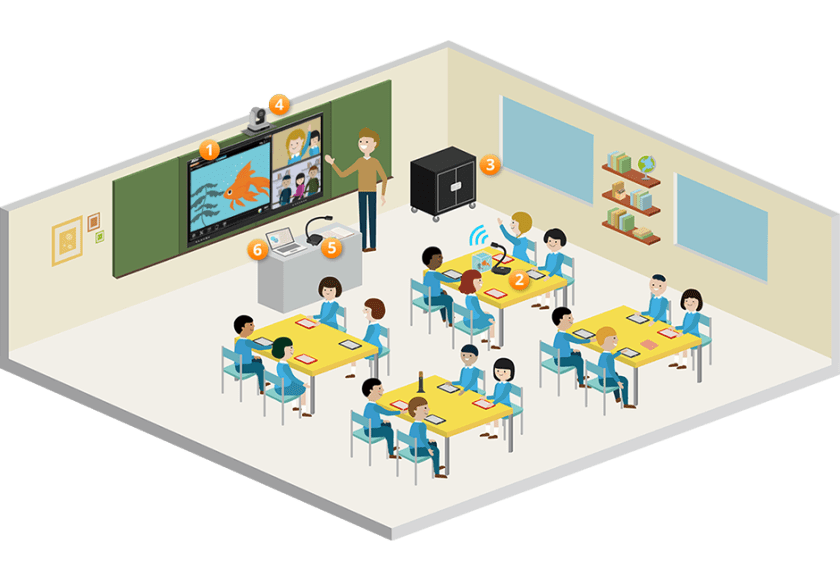
VISUALISERS – Lots of truly wonderful teachers use visualisers to highlight their own and students’ responses. The idea is that teachers write under a visualiser or place student work under the camera and ‘work’ on the projection of the document live. One possible limitation of this however, is if you teach in multiple rooms that don’t have such technology. The options below are your saviours!
iPAD – For those who have Apple products installed in the classroom, the iPad is used to photograph student work and it then projects onto the whiteboard.
ONENOTE – a few weeks ago, a tweet (can’t recall who sorry) introduced me to the potential of OneNote to serve as a visualiser. The process is simple. Download OneNote app on your phone, and if your school uses Microsoft products (= pretty much everyone), it undoubtedly has OneNote as an application. When you take a photo in the app on your phone it immediately syncs with the open document on the whiteboard, and voila, the work is now live for students to see. It’s completely free, and incredibly simple to do. It also allows you to photograph notes you may have written on the board that you want to bring back up the next lesson (or other time) after they have been rubbed off.
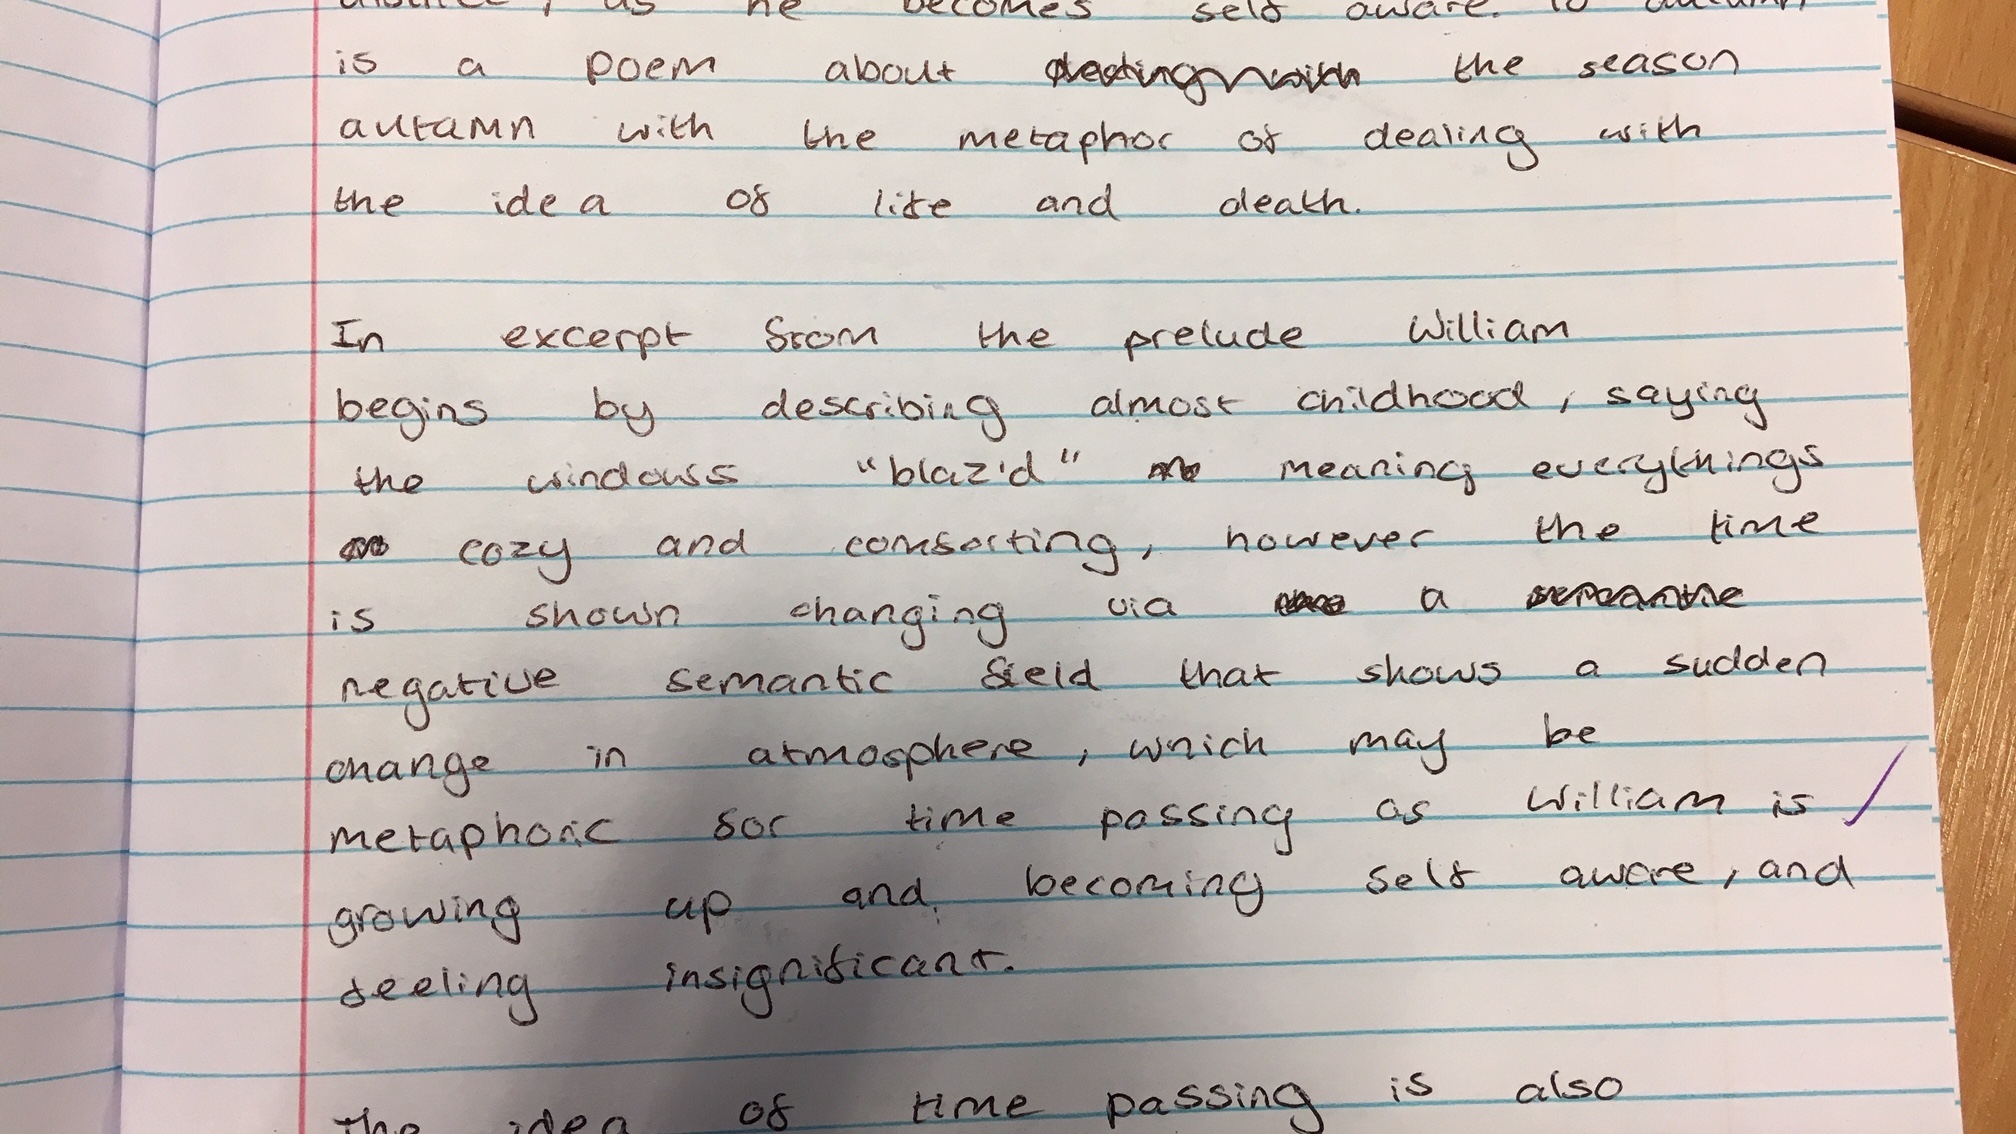
Below are 3 student responses of various levels of novice moving towards expert. As they come up on the screen (with the student’s permission), others read the student model and get either a validation of their own thinking or an alternative perspective. I then ask the student to model their thinking process and I add an examiner’s perspective in demonstrating to them how the positive aspects would be assessed.


Depending on the response and the student, I will annotate on the board and use it as a learning tool. The default for students is that if their work is being presented, it is a good example of the YOU section of the modelling process; I would never use it as an example of poor writing. Students feel proud if their work is on display in this fashion, and are always open to suggestions (usually only 1 or 2) of how to improve.
The 4th stage of I, We, You , the students’ model, is most definitely here to stay in my practice. I hope it works for you too.
I’m Paul Moss. Follow me on twitter @edmerger, and follow my blog for more writing about English resources and education in general.

One Note! Who knew?!
LikeLike
I know right!
LikeLike